
ST LUCIE COUNTY'S STUCCO EXPERTS
Our Services
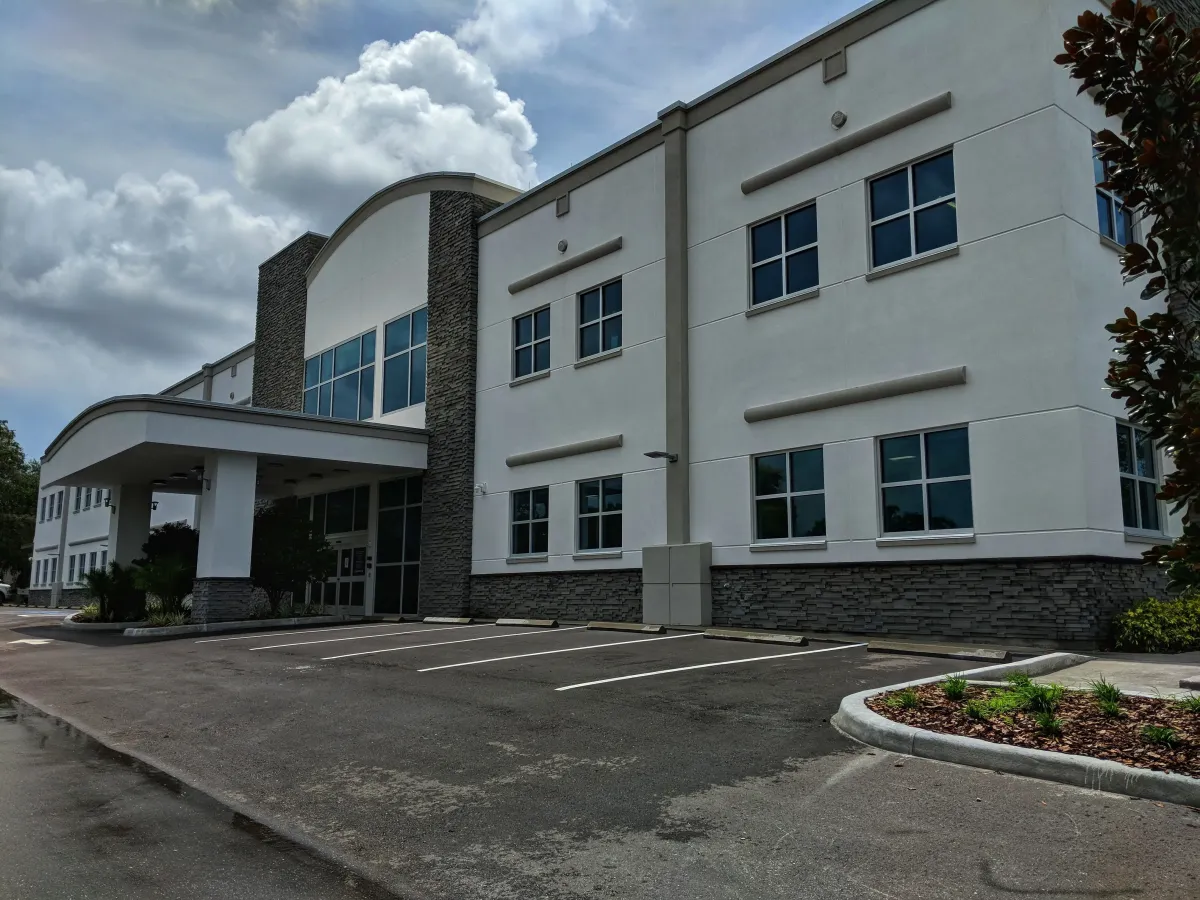
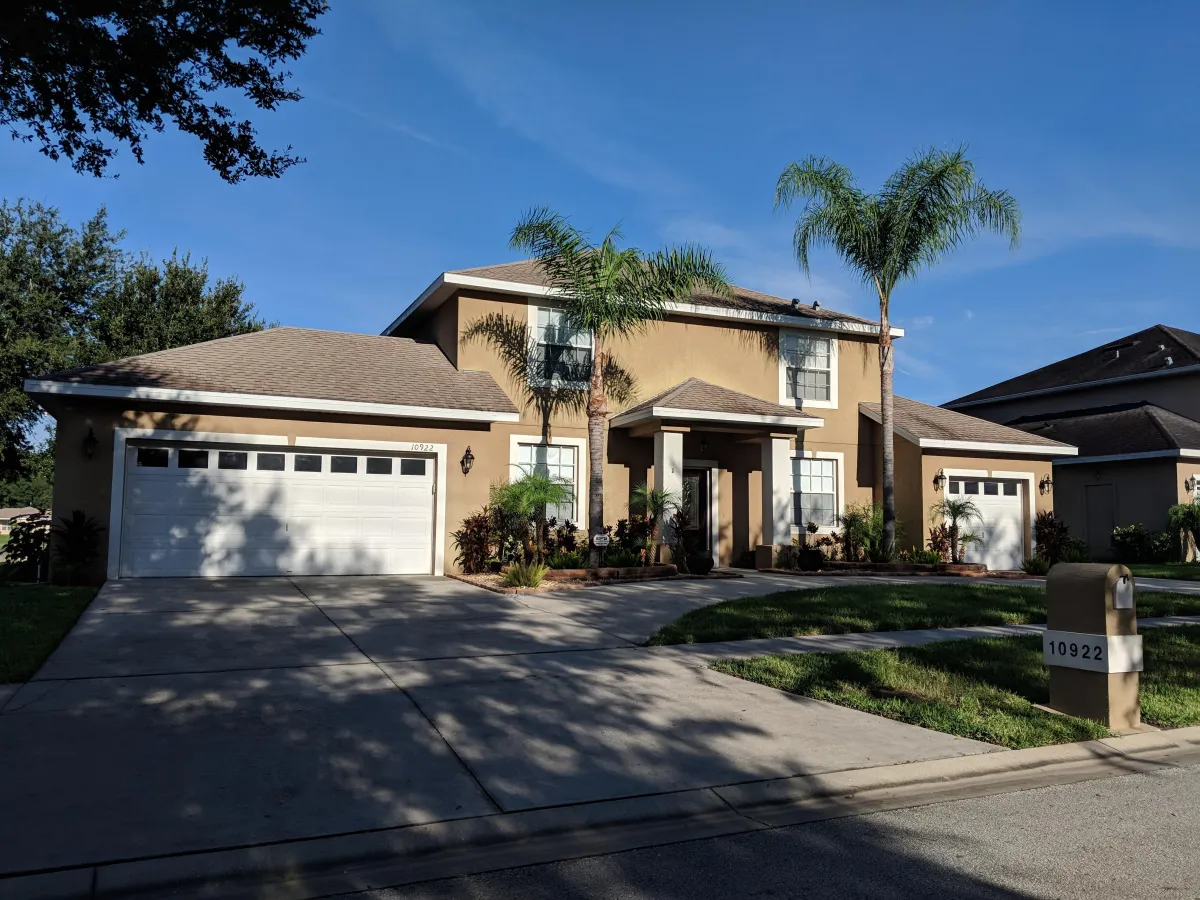
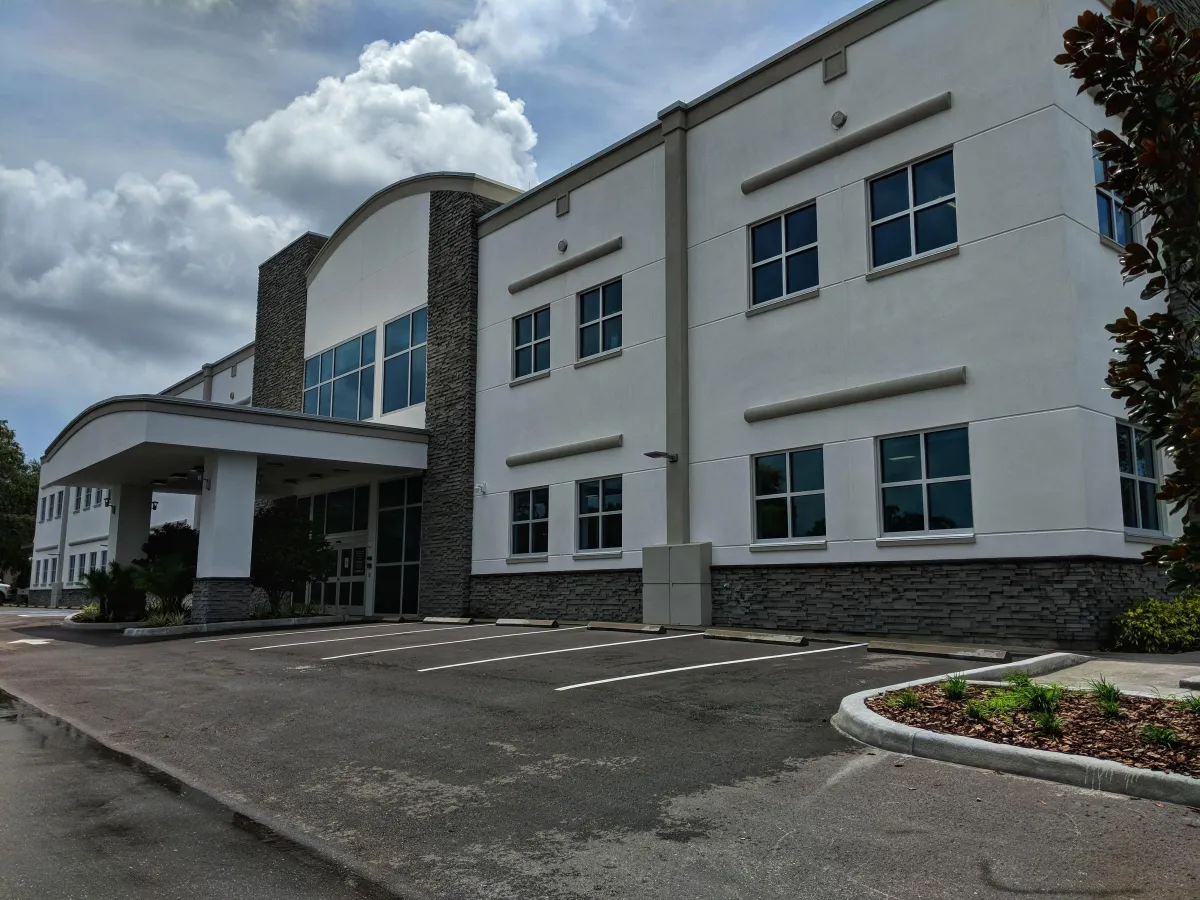
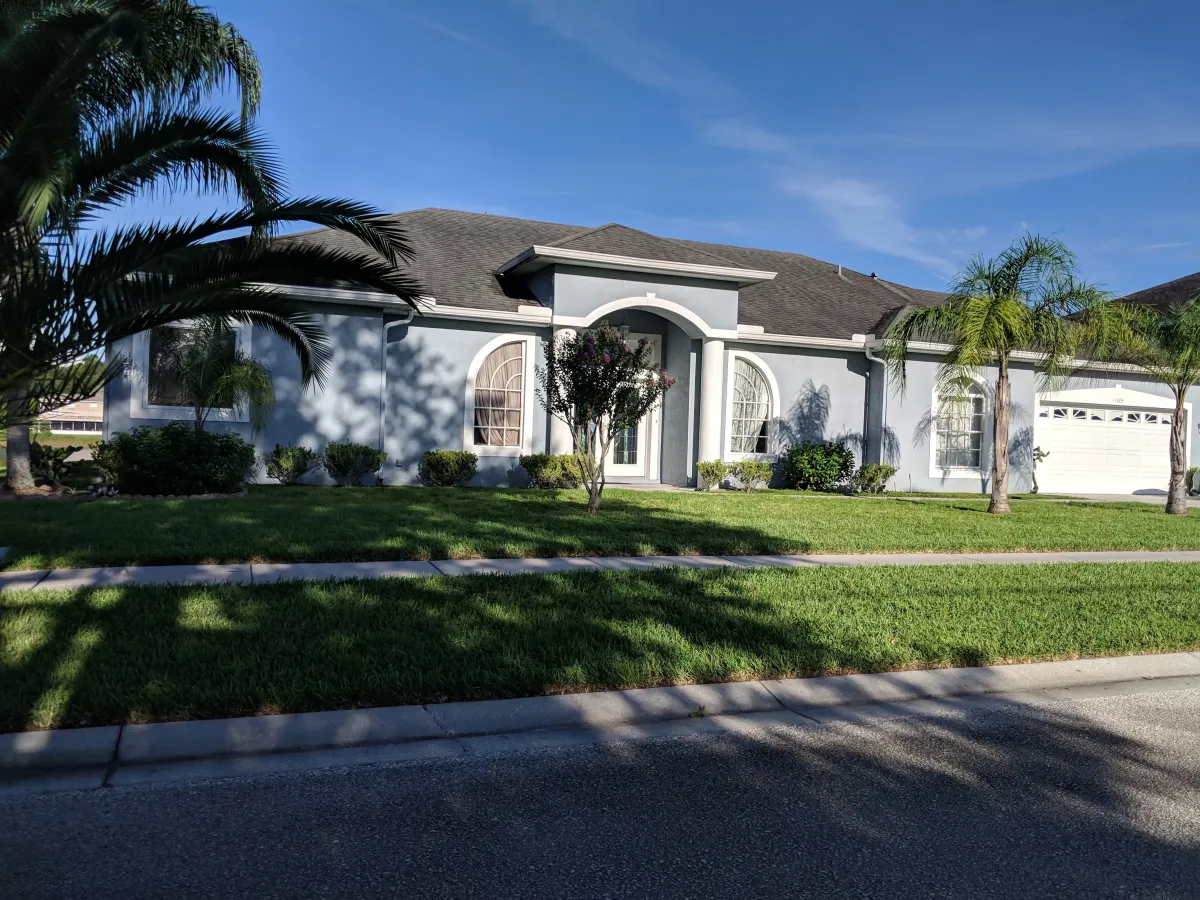
Stucco Repair and Applications in Fort Pierce, FL
From new installations to repairs of existing structures, at Fort Pierce Stucco we have the solution for you. As homeowners ourselves, we want to know we're getting the best bang for our buck, and we carry that same principle into our work.
Read on to learn more about the services we offer and our installation process.
New stucco applications
Whether you are a homeowner, contractor or developer, Fort Pierce Stucco can help you achieve the quality aesthetics and structural integrity you or your customers demand. Why settle for a contractor that will deliver a satisfactory result, when you can hire a stucco company that genuinely cares about the finished product and applies decades of combined experience, know-how and techniques to make sure you are left not just satisfied, but overcome with joy?
Our Services
Click on one of our services below to learn more, or see our Services for more details on how we can help make your project a reality. To discuss your project with one of our specialists, give Plant City Stucco a call today at (813) 590-7201 and we will be happy to help, and can schedule a FREE on-site quote at a time that suits you.
Stucco
Our premium stucco applications
offer a quality siding solution that is highly compatible with the Florida climate and looks fantastic.
EIFS
For greater insulating properties, our EIFS installation provides an excellent barrier outstanding the elements, highly popular in commercial applications.
Specialty Applications
From decorative brick to adobe, our skilled craftsmen will bring out the unique personality of your home with beautiful custom finishes.
Take 10% Off Any Job Over $5,000
The Stucco Installation Process
Stucco can be applied over standard, wood frame walls in a three-coat process and over masonry and poured concrete walls in a two-coat application.
- Before starting each project we check local building codes for wall assembly and moisture barrier requirements in your area. Weather-resistant stucco walls require the use of two layers of grade D waterproof building paper over the wall sheeting including plywood, OSB, exterior gypsum board and concrete board, before the application of the base coat. We attach the waterproof building paper, overlapping vertical and horizontal seams by specific lengths and extending the paper around corners typically up to 16 inches.
- Once this is in place we install all trim accessories, before installing weep screeds along the bottom edges to allow any water that has entered the wall to escape.
- Casing beads are typically installed to terminate stucco neatly at the end of the wall and to act as a guide to help maintain a consistent stucco thickness.
- We then install galvanized expanded metal lath or wire stucco netting over the entire surface, overlapping horizontal and vertical seams typically by 1-2 inches, held in place using galvanized nails or staples applied to a depth of at least one inch into the studs.
- Where necessary, we place control joints to create wall panels no larger than 144 square feet, keeping the panels as square as possible. Stucco will shrink as it hardens and cures. Control joints help reduce the potential for shrinkage cracking.
- We use expansion joints anywhere there are existing wall expansion joints and at inside corners and changes in substrate. Expansion joints are designed to allow for the expansion and contraction of the stucco wall panels with changes in temperature.
- We install corner trim on all outside edges to protect the exposed stucco and to provide clean finished lines.
- Once the substrate is properly prepared we can move on to the base coat stucco application. Where available, our product of choice is QUIKRETE Base Coat Stucco and QUIKRETE Base Coat Stucco with Water-Stop in a traditional three coats system over wood sheeting and as the base for a two-coat application over masonry or concrete. These pre-blended stuccos are highly workable for hand-applied stucco applications and have the high bond strength required for a successful project.
First we mix the base coat stucco to a workable consistency, which is achieved when the stucco hangs on a trowel held at a 90-degree angle. Stucco that is mixed too wet will sag. Stucco that is mixed too dry will not adhere properly to the metal lath.
Using a square trowel, we apply the base coat stucco using firm trowel pressure to force the stucco into the lath. Working from the bottom of the wall up, we apply the stucco at a thickness of about three-eighths of an inch over the entire area. Then, using a straight edge or darby, we screed the stucco to a uniform depth of 3/8 of an inch thick.
- Once the stucco is thumb print hard, we scratch 1/8" deep horizontal grooves into the base coat across the entire area with a raking tool. This step is commonly referred to as the 'scratch' coat, which is then left to cure for 24-48 hours, keeping the surface of the stucco damp with a fine water mist. This helps to reduce shrinkage cracking, especially in hot dry conditions which are common in Florida from November through May.
- We then mix and apply another 3/8 inch layer of base coat stucco directly to the scratch coat. This step is called the brown coat. Using a straight board or darby, we screed the brown coat surface to a true even 3/8 inch thickness. The total combined base coat depth should be three-quarters of an inch thick.
- As soon as the stucco has lost its sheen, we float the surface uniformly, and then cure the base coat with a fine water mist for 24 to 48 hours. For two-coat applications over masonry block walls and poured concrete walls, the scratch coat step is eliminated from the process. We simply dampen the wall, apply the brown coat and then screed and float the surface to a uniform 3/8 inch thickness.
- Now that the base coat is complete, we use a finish coat stucco to provide numerous decorative color and texture options for your stucco wall. Popular textures include heavy lace, light lace, dash, sand float and smooth finishes. Working from the bottom of the wall to the top, we apply a consistent 1/8" thick coating of finish coat stucco. We then use a whisk brush to lightly dash finish coat stucco onto the wall. Then, we use a trowel to knock down and flatten the stucco. For a heavier texture, we first spread the finish coat stucco in a thin application to achieve good color coverage and then double back with a heavier uneven application. Once the heavy coat begins to harden, we knock the finish down with a trowel creating a heavy lace finish. If a smooth finish is your preference, we will use a trowel or sponge float in a circular motion.
- We make sure to complete the entire wall in one application as this helps to limit any color inconsistencies from batch to batch. We then keep the surface damp for several days by applying a fine water mist.
Stucco repairs
South Florida has a sub-tropical climate which can be extremely harsh on building materials. In the rainy late spring/summer season (June-November), temperatures often reach 100°F, with very high humidity and an average rainfall of around 40". In the drier parts of the year (December-May), months of near-drought and often hot temperatures can cause structures and materials to dry out, which can lead to multiple issues and headaches that can be costly to repair.
For these reasons, not only does finish work need to be made from suitable materials, but it is essential that it be applied correctly. At Fort Pierce Stucco we source the very best stucco, plaster, EIFS and other materials to ensure every project is a success. It is essential to us that the customer be thrilled with the finished product and that the result holds up to the Florida elements, standing the test of time.
Indicators of damaged stucco include:
Water spots
Following a storm or prolonged periods of heavy rainfall, moisture should naturally drain from a
proper stucco application. Any signs of moisture that remain long after the weather has dried could indicate that the stucco is not draining properly, which can lead to serious problems such as mold, rot and compromised structural work.
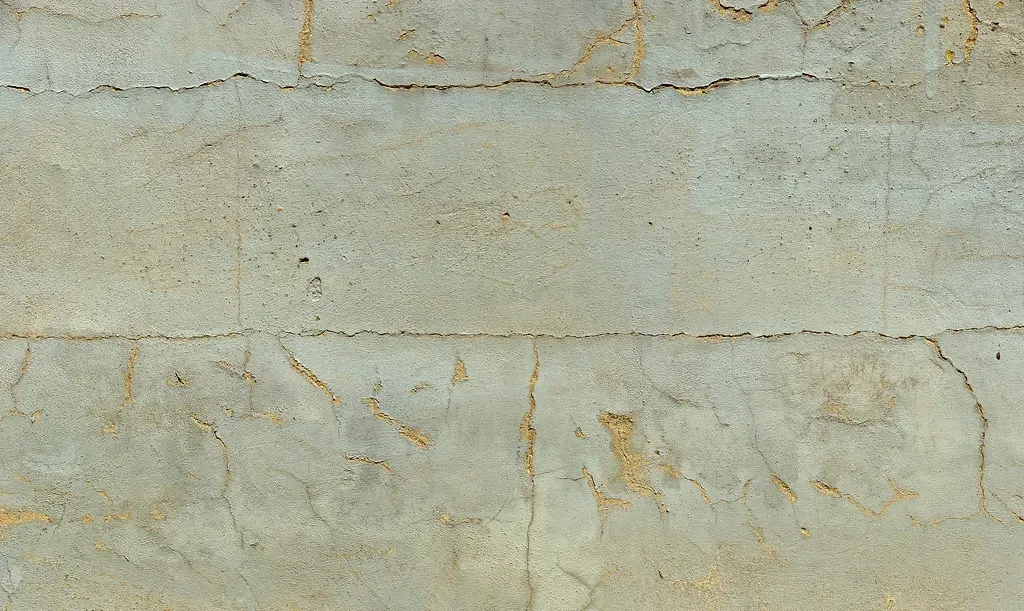
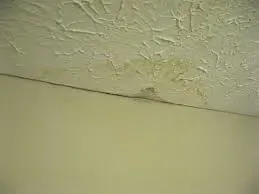
Cracking
Cracks in stucco can be very difficult - if not impossible - to repair, and are not only a design problem, but an eyesore. Cracking can be caused by different factors such as impact damage from objects carried by wind, rain making existing cracks bigger, etc., and should be remediated promptly to avoid more significant damage.

Extending below grade
Stucco that extends below ground level is more often than not the result of improper installation, but can also be brought about by storm water retention. Any water trapped inside below-grade stucco has no way to escape, and the material will also absorb moisture from the ground, leading to long-lasting problems.
Remediation
Many homeowners want the quickest, easiest and cheapest solution when they want to repair damaged stucco. However, making localized repairs to cracks and other damage very rarely provides a true remediation of the problem as it can be extremely difficult to match the existing color, texture and thickness. As such, we highly recommend a corner-to-corner replacement of the existing stucco surface to ensure a proper uniformity across the entire surface.
Providing corner-to-corner remediation may sound like 'overkill', but it is the best way to provide a lasting solution to damaged surfaces. By removing all existing stucco from corner to corner, we are able to identify and
correct the underlying issue before applying a
water resistive barrier (WRB) to provide the necessary underlying moisture protection. Only once our assessment and any additional repairs are complete will we apply a full, uniform finish, delivering both integrity and aesthetics in a single solution.
Stucco as an excellent siding material
Homeowners often assume that a full and proper remediation process is expensive and out of their budget. While it's possible that any estimate you receive may seem like a significant up-front expense, it's a drop in the ocean compared to making substantial structural repairs down the road if the problem is left unresolved. And in fact, our
remediation services are often more affordable than our customers were anticipating.
So stop procrastinating, and don't sit around waiting for the next storm to exacerbate your property's existing damage. Contact us today at (772) 238-5620 for a FREE, NO-OBLIGATION QUOTE and get it resolved with a long-term solution from Fort Pierce Stucco!
Other services/recommendations
If you are in need of masonry repair in Carmel IN, look no further than our friends over at Carmel Masonry Pros!
For masonry repair in Roseville, CA, check out our friends at Roseville Masonry!
If you are in Secaucus, NJ and in need ofroofing services, visit our friends at Secaucus Roofing!
For roofing services in Woodstock, IL, check out our partners at Roofing Woodstock!
For residential painting services in the Tampa Bay area and commercial painting all up the East Cost, visit our partners at Argentun Services!
Unrivalled Quality & Workmanship
Get a free quote
Fill out the form below to request a free consultation
408 Farmers Market Rd, Fort Pierce, FL
stuccofortpierce.com
Mon-Sun: 7am - 7pm

© Copyright 2023 Fort Pierce Stucco. All Rights Reserved.
Zip codes we serve: 33563,33564,33566,33587,33565,33527,33567,33811,33530,33815,33594,33583,33595,33584,33592,33510,33509,33508,33810,33596,33550,33863,33806,33804,33524,33802,33807,33803